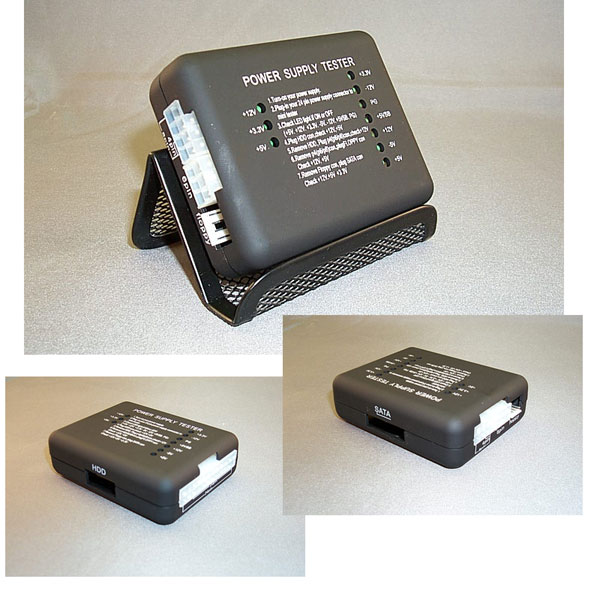
Universal Power Supply Tester
- Brands Universal
- Product Code: TOOL-PW-TEST
- Availability: In Stock
-
$5.50
Not only does this mini power supply check for load verification, but it checks the output voltage from each of the power supply output leads. This insures that a correct output is detected to quickly check the health of your power supply.
Checks output for:
4 pin molex connector power lead, known as old style hard drive power connector
SATA connector power lead, known as new style hard drive power connector
Floppy connector power lead
4, 6, or 8 pin CPU connector power lead
Voltage support:
+3.3V, -12V, PG, +5VSB, +12V, - 5V, and +5V
Instructions:
1. Plug-in power supply connector to tester.
2. Plug-in power supply to outlet source and enable power switch.
3. Check LED status for 3.3V, -12V, PG, +5VS, +12V, - 5V, and +5V
4. Plug in HDD connector ONLY.
5. Check LED status for +12V and +5V.
6. Remove HDD connector.
7. Plug in 4, 6 or 8 pin CPU connector ONLY.
8. Check LED status for +12V.
9. Remove CPU connector.
10. Plug in floppy connector ONLY.
11. Check LED status for +12V and +5V.
12. Remove floppy connector.
13. Plug in SATA connector ONLY.
14. Check LED status for +12V, +3.3V and +5V.
15. Remove SATA Conector.
16. Unplug ATX connector.


